Advanced Glass Art Projects
Key Takeaways
- Explore complex glass art projects using advanced techniques.
- Understand the tools and materials necessary for intricate designs.
- Learn step-by-step guides for several challenging glass-making projects.
- Discover tips for troubleshooting common issues in glass art creation.
- Find inspiration from other artists and their unique creations.
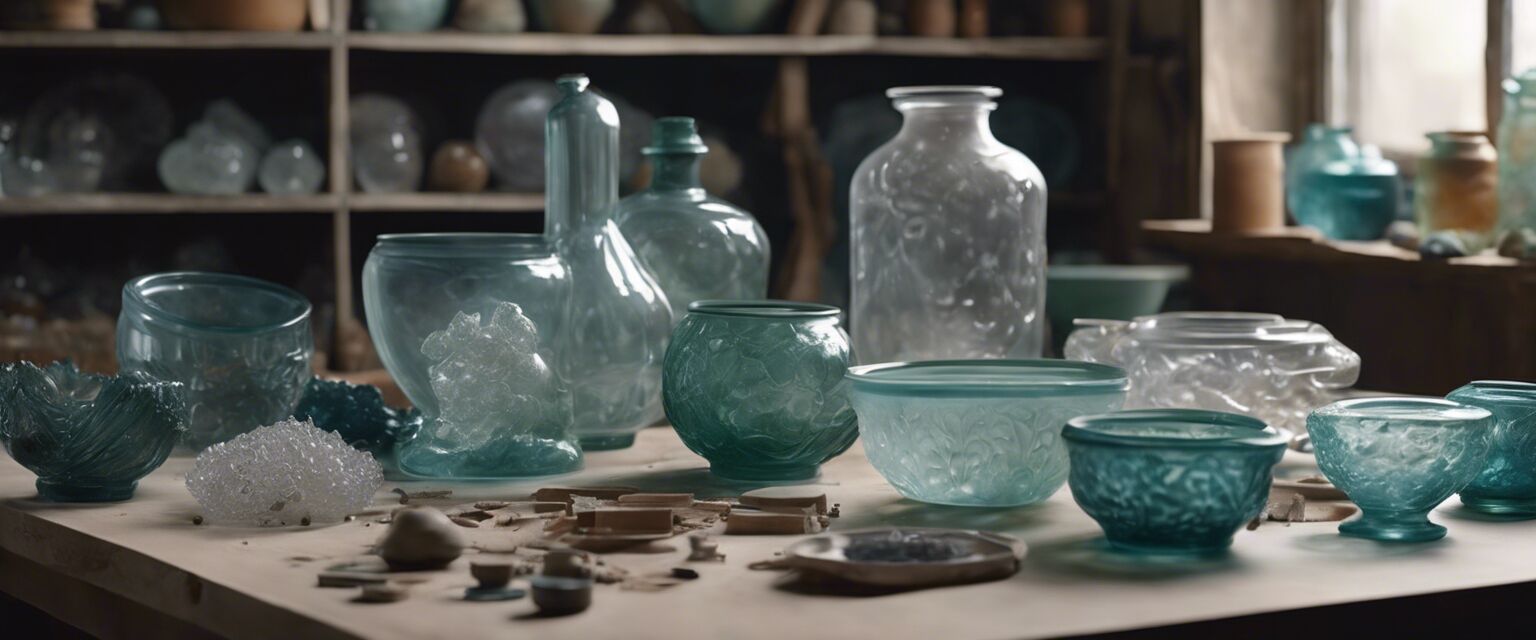
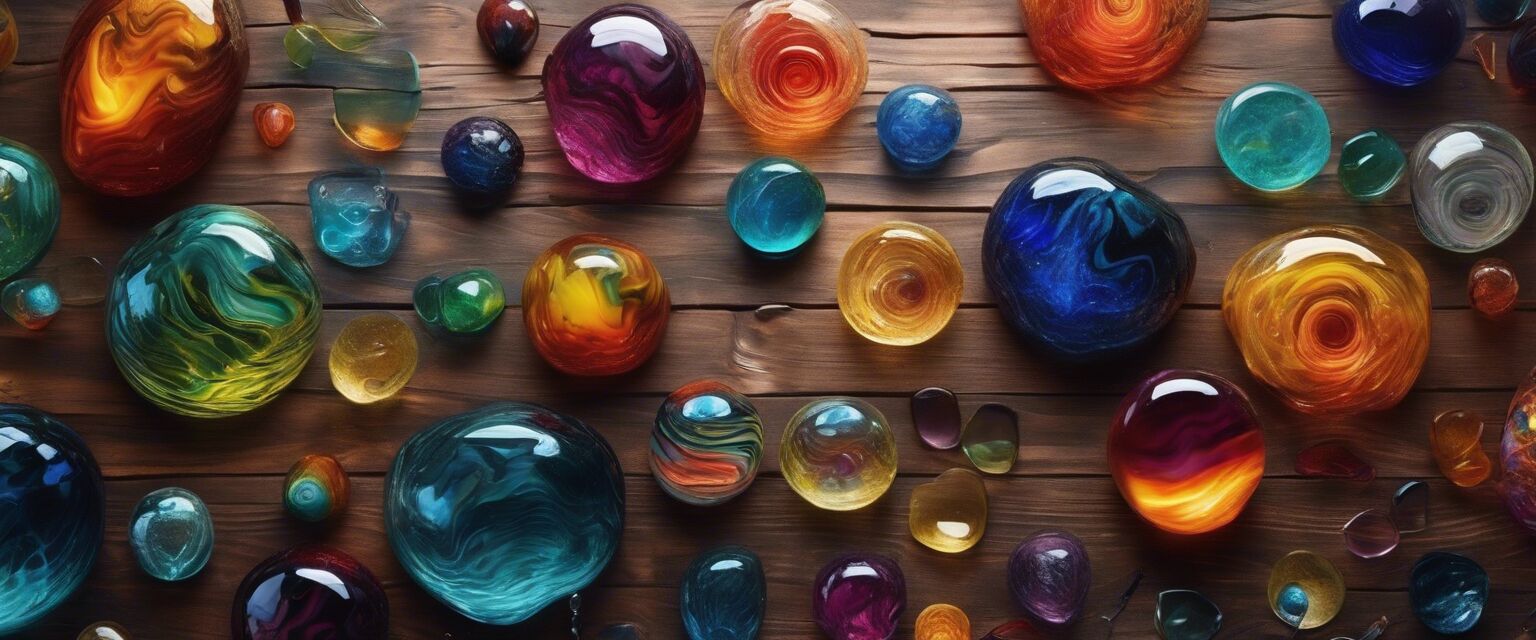
The art of glass making is a fascinating blend of creativity and precision. While beginners can start experimenting with simple designs, advanced glass art projects open up a world of intricate, stunning creations. In this guide, we dive deep into various advanced techniques, the necessary tools, materials, and step-by-step tutorials to help you elevate your glass-making skills.
Featured advanced techniques
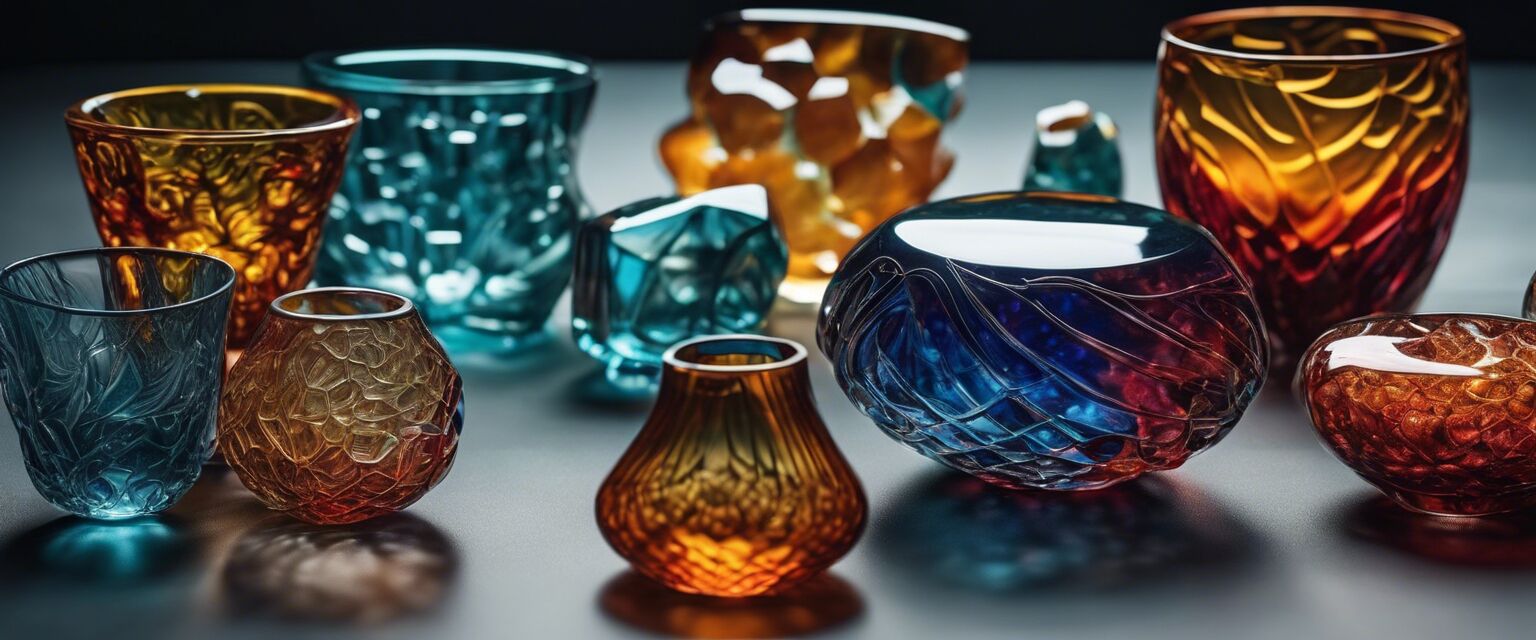
Advanced glass art projects often utilize unique techniques that allow artists to push the boundaries of their creativity. Here are some of the key techniques to explore:
- Glass Fusing: The process of bonding glass pieces together through heat. This technique allows for intricate, multi-layered designs.
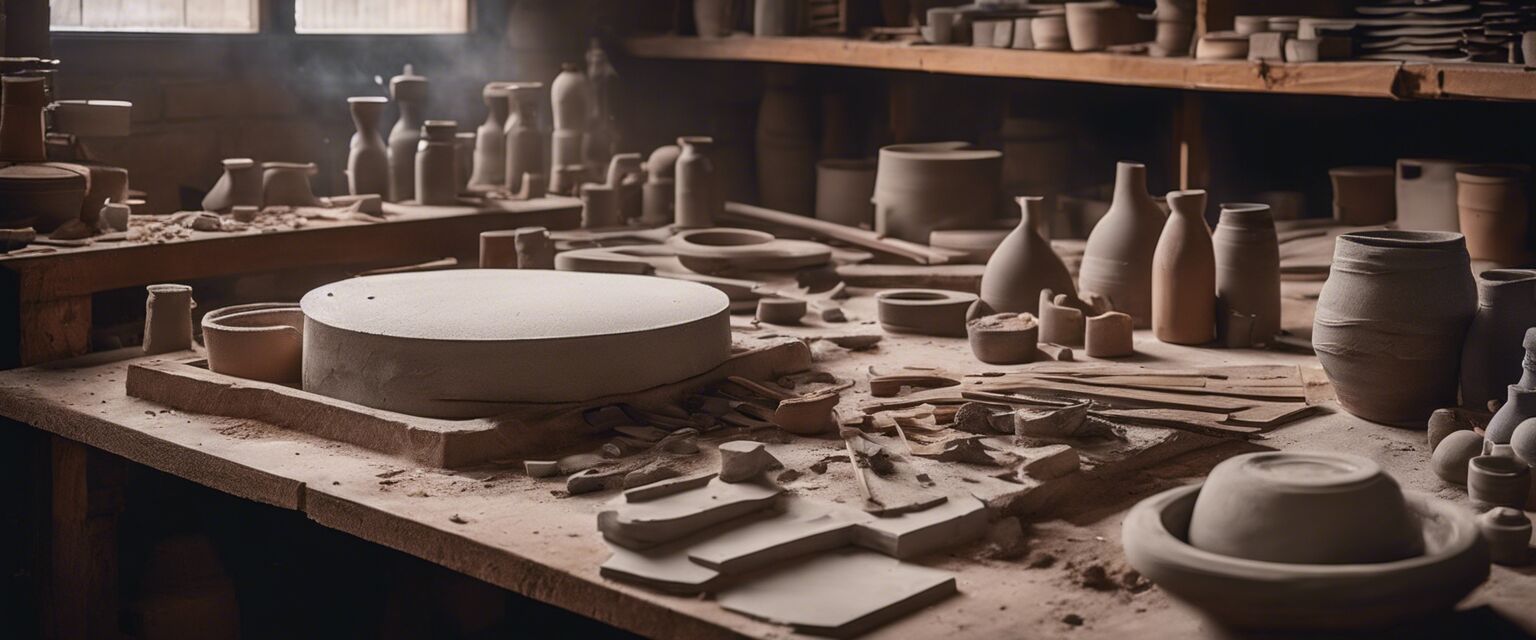
- Slumping: A technique that involves heating glass in a kiln until it softens and takes the shape of a mold.
- Glass Casting: Pouring molten glass into molds to create three-dimensional artworks or functional pieces.
- Stained Glass: A method of using colored glass pieces to create designs often seen in windows and decorative art.
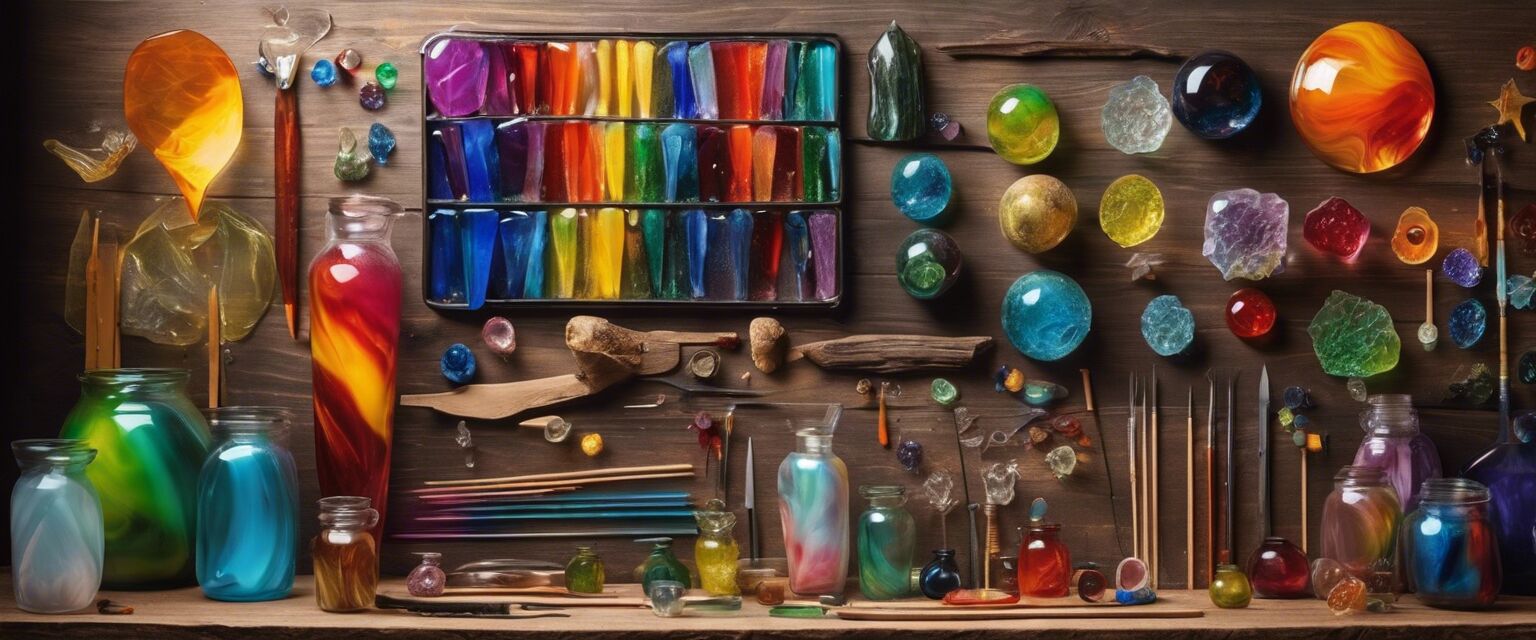
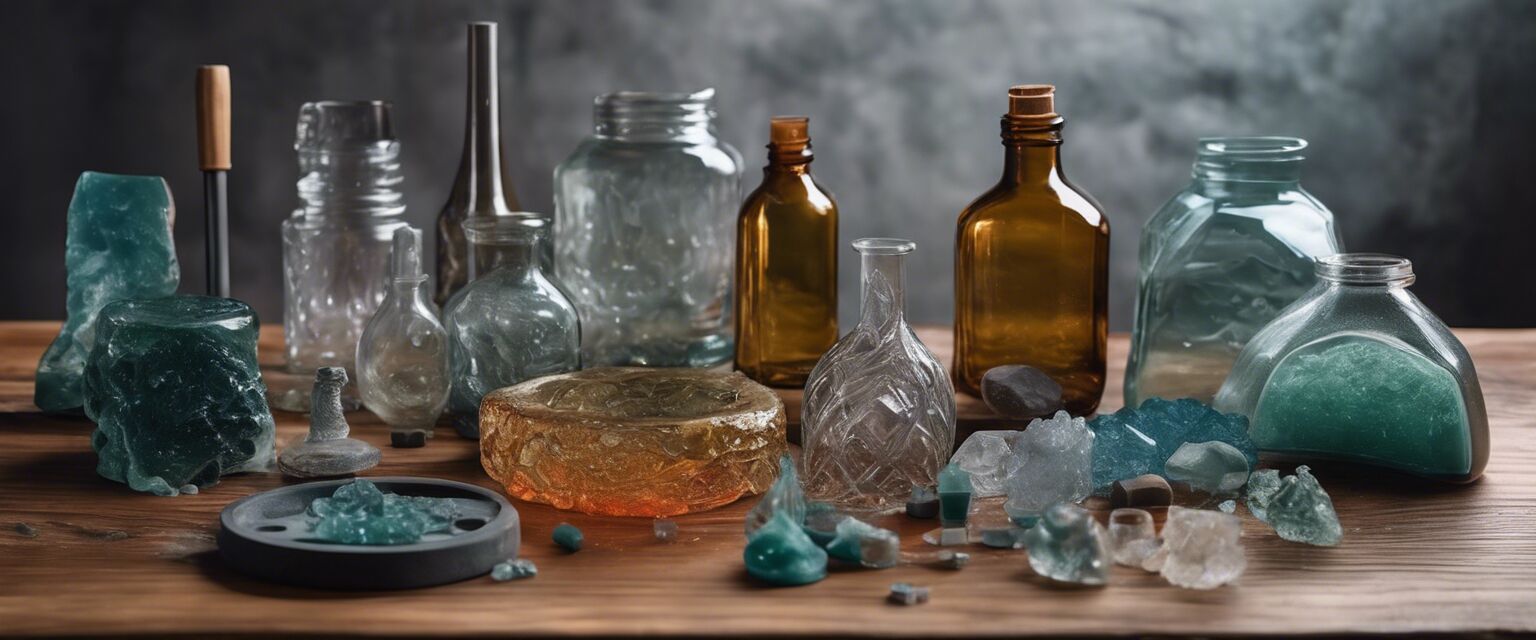
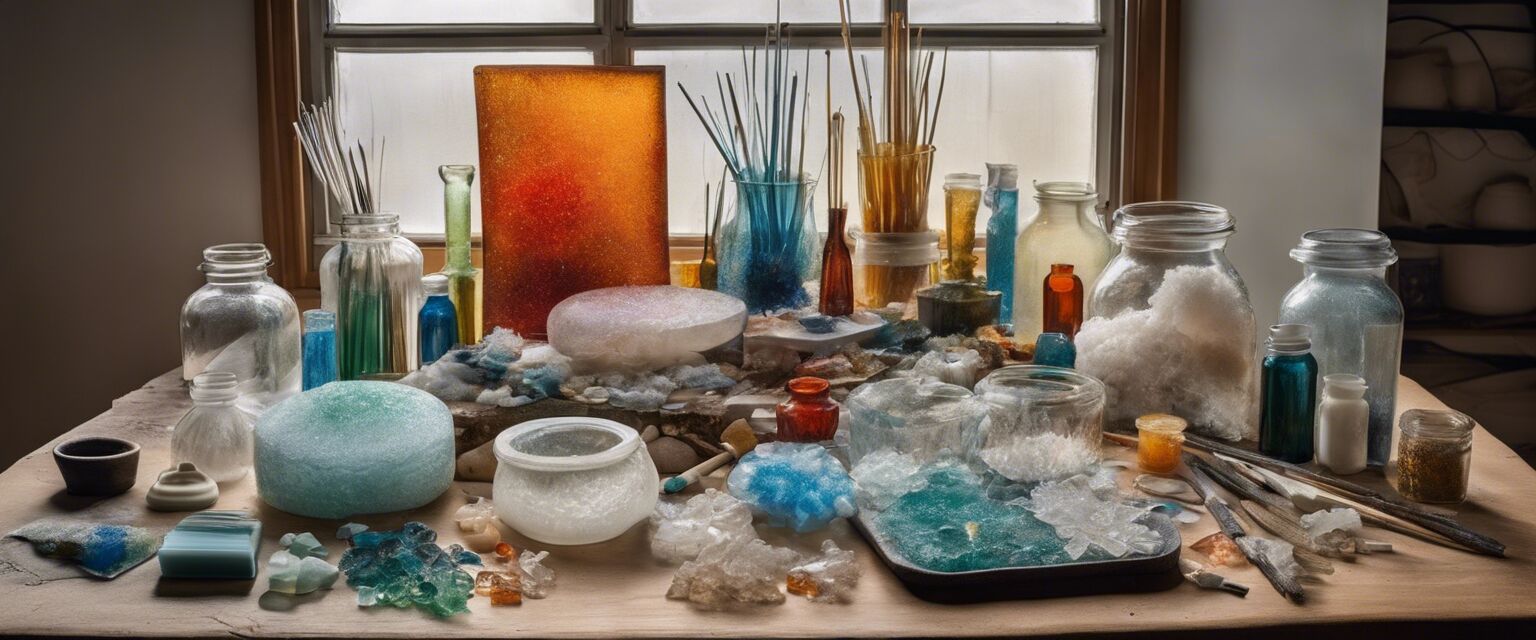
Essential tools and materials
Before diving into advanced projects, ensure you have the right tools and materials at your disposal. The following table outlines some essential items you may need:
| Tool/Material | Purpose |
|---|---|
| Glass Cutter | For cutting glass sheets into desired shapes. |
| Kiln | Used for fusing, slumping, and casting glass. |
| Molds | For shaping molten glass into specific designs. |
| Safety Gear | Gloves, goggles, and masks to protect while working. |
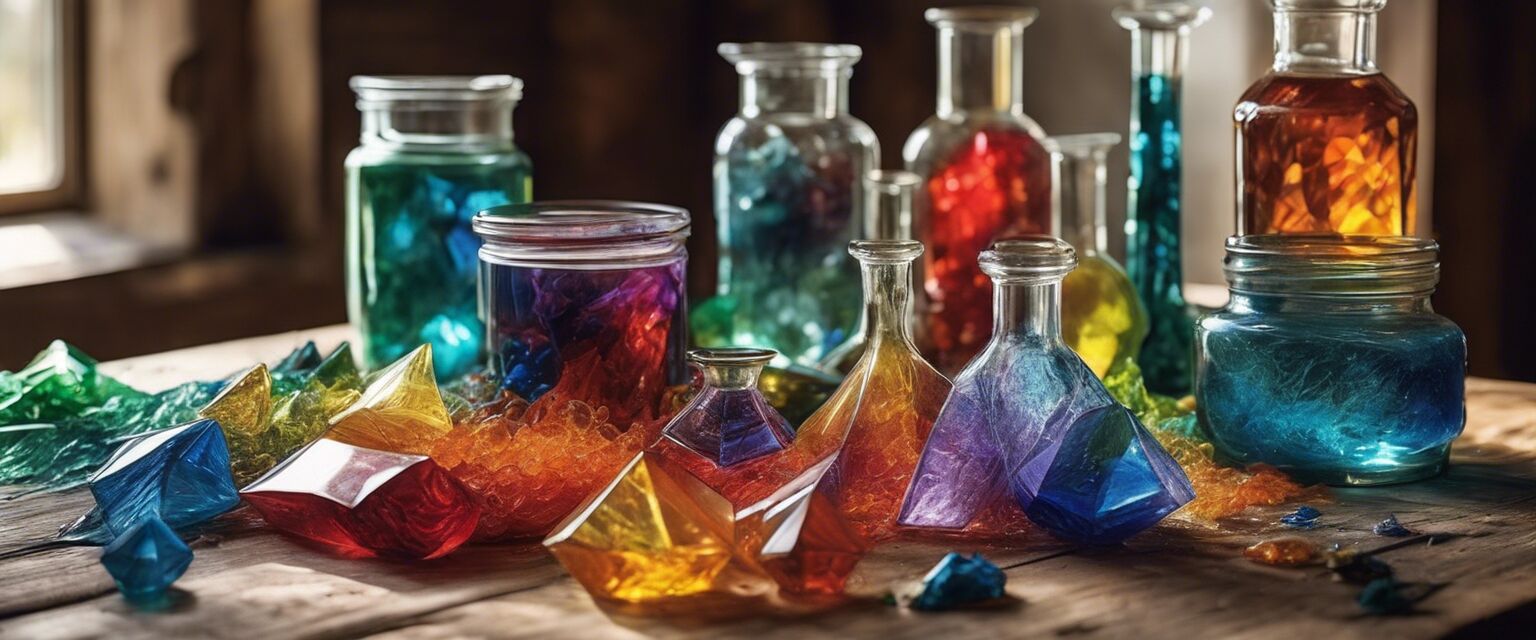
| Glass Sheets and Frit | Base materials for creating fused glass art. |
Step-by-step guides to advanced projects
Below are a few detailed guides to help you embark on some exciting advanced glass art projects:
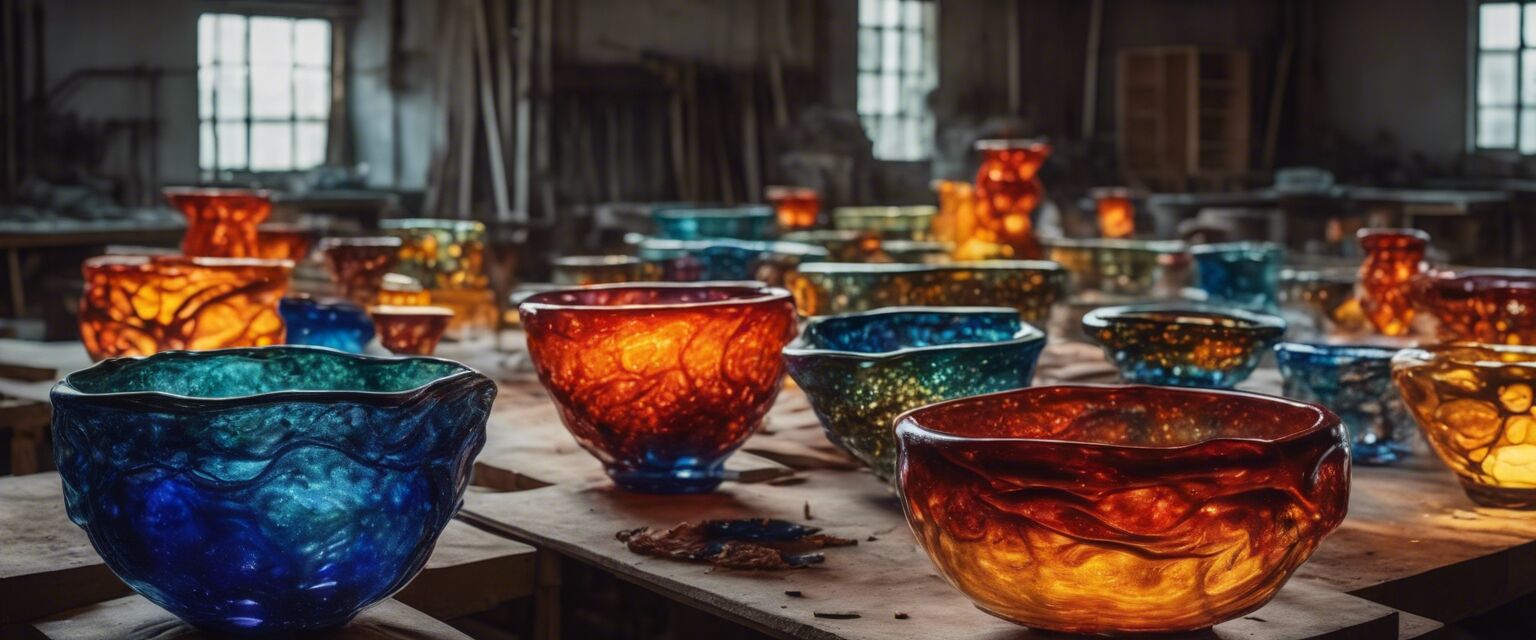
1. Creating a Fused Glass Bowl
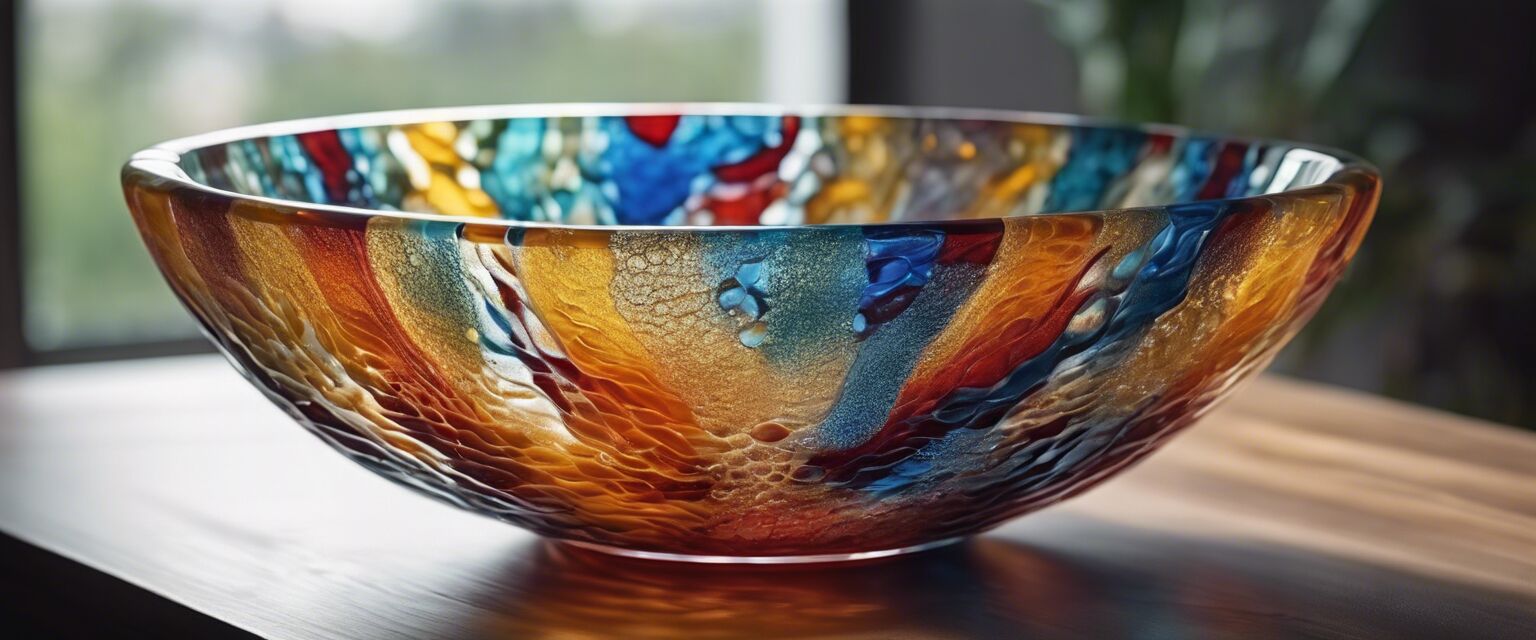
- Gather tools and materials: glass sheets, kiln, glass cutter.
- Cut the glass sheets into desired shapes and sizes for layering.
- Arrange the glass pieces in a mold.
- Heat in the kiln according to the manufacturer's instructions.
2. Slumped Glass Wall Art
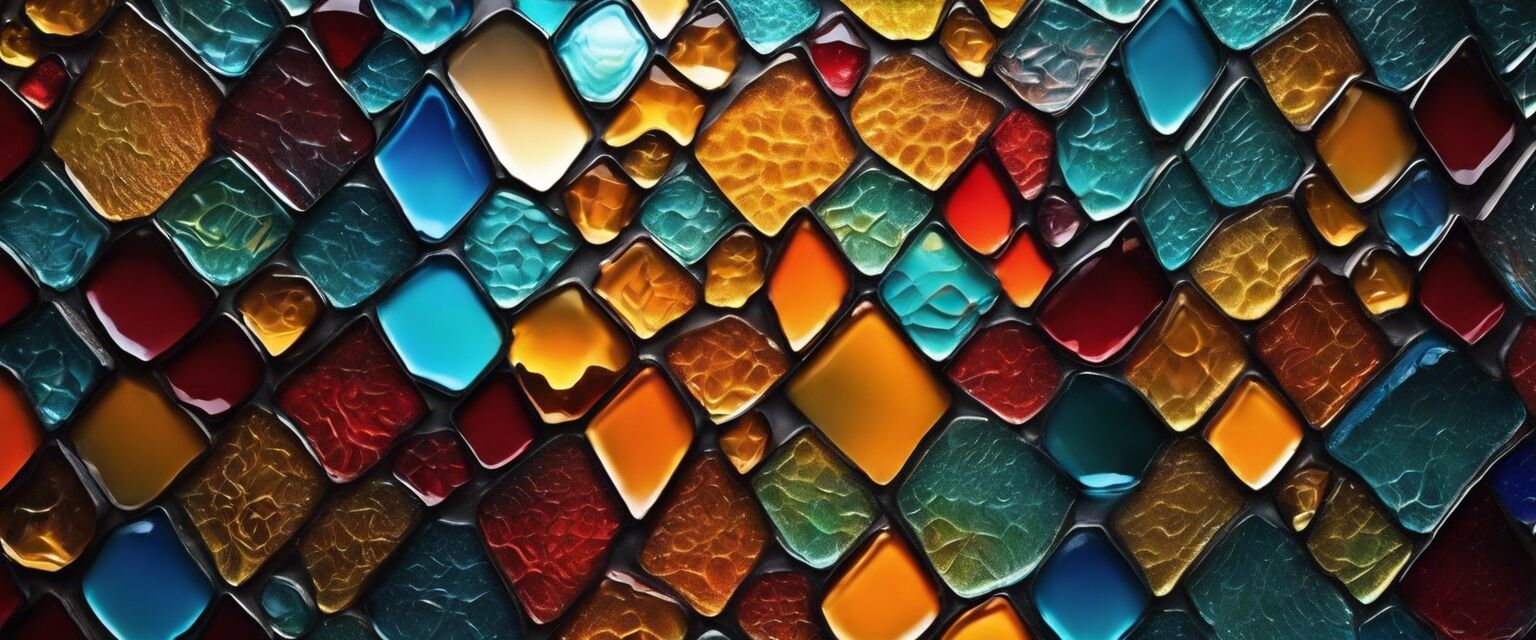
- Select a mold for the final shape of your wall art.
- Create a design using glass sheets and frit.
- Place the glass in the mold and heat in the kiln.
- Allow to cool and display on your wall.
3. Glass Casting Sculptures

- Prepare the mold for your design.
- Heat glass until it reaches molten form.
- Pour the molten glass into the mold with care.
- Let it cool according to specified time for solidification.
Tips for successful glass art projects
Creating advanced glass art projects may come with challenges. Here are some tips to help you succeed:
- Always prioritize safety by wearing protective gear.
- Take your time measuring and cutting; accuracy is essential for great designs.
- Experiment with different types of glass for diverse effects.
- Keep a clean work area to avoid contamination in your projects.
- Familiarize yourself with the kiln's temperature settings before starting.
Common challenges and how to troubleshoot
Even experienced glass artists face challenges. Hereâs a table outlining common problems and potential solutions:
| Problem | Solution |
|---|---|
| Bubbles in glass | Ensure proper heating and avoid trapping air when layering glass. |
| Uneven edges | Use precise cutting tools and ensure glass is flat before firing. |
| Cracks or breaks | Regulate temperature in the kiln; avoid rapid heating or cooling. |
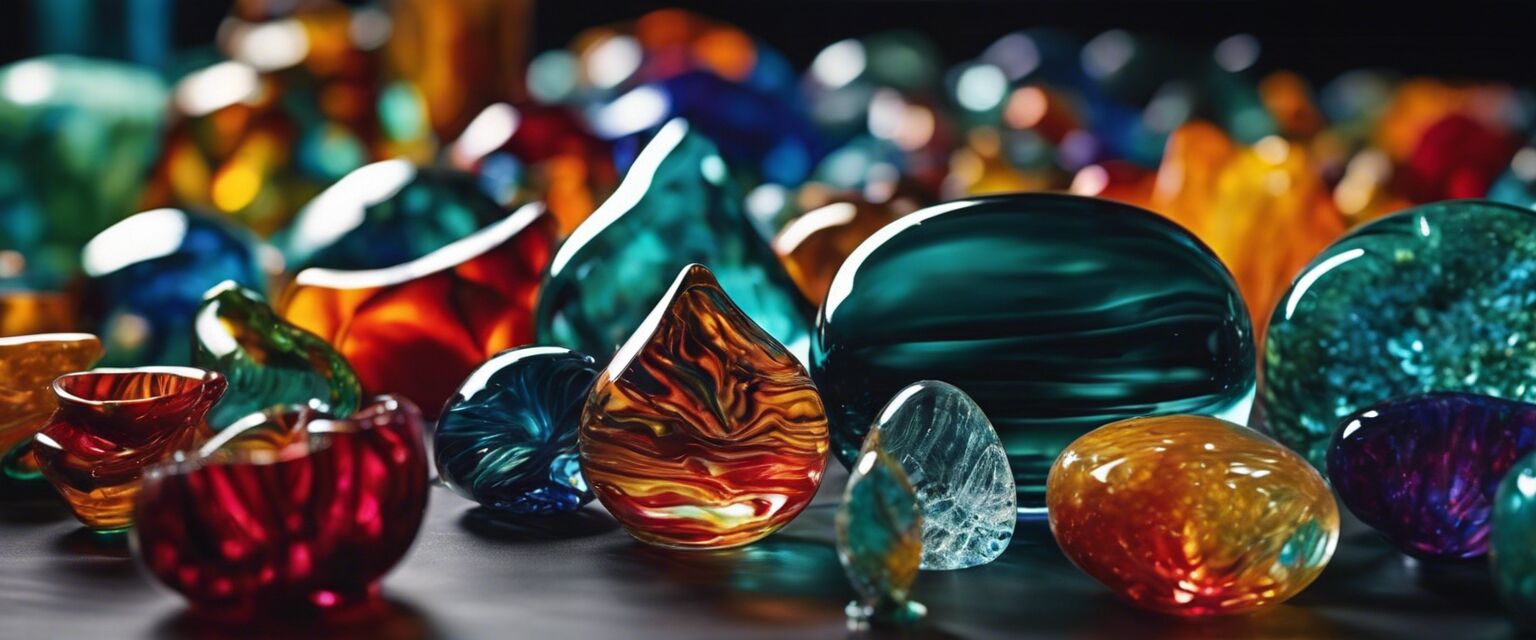
Inspiration from fellow artists
To ignite your creativity, explore various platforms and communities where glass artists share their stunning works. Consider visiting:
Conclusion
Advanced glass art projects are not just about the end result; they are a journey of creativity, precision, and technical skill. With the right tools, materials, and techniques, you can create stunning pieces that showcase your artistic abilities. Embrace the challenges and enjoy the process of transforming your ideas into beautiful glass art!