Advanced Firing Techniques for Experimenting Artists
Key Takeaways
- Understanding the importance of kiln control and firing cycles.
- Exploration of advanced techniques like glass fusing and slumping.
- Tips for experimenting with different materials and finishes.
- The significance of testing and documenting your results.
- Resources for optimizing your kiln performance.
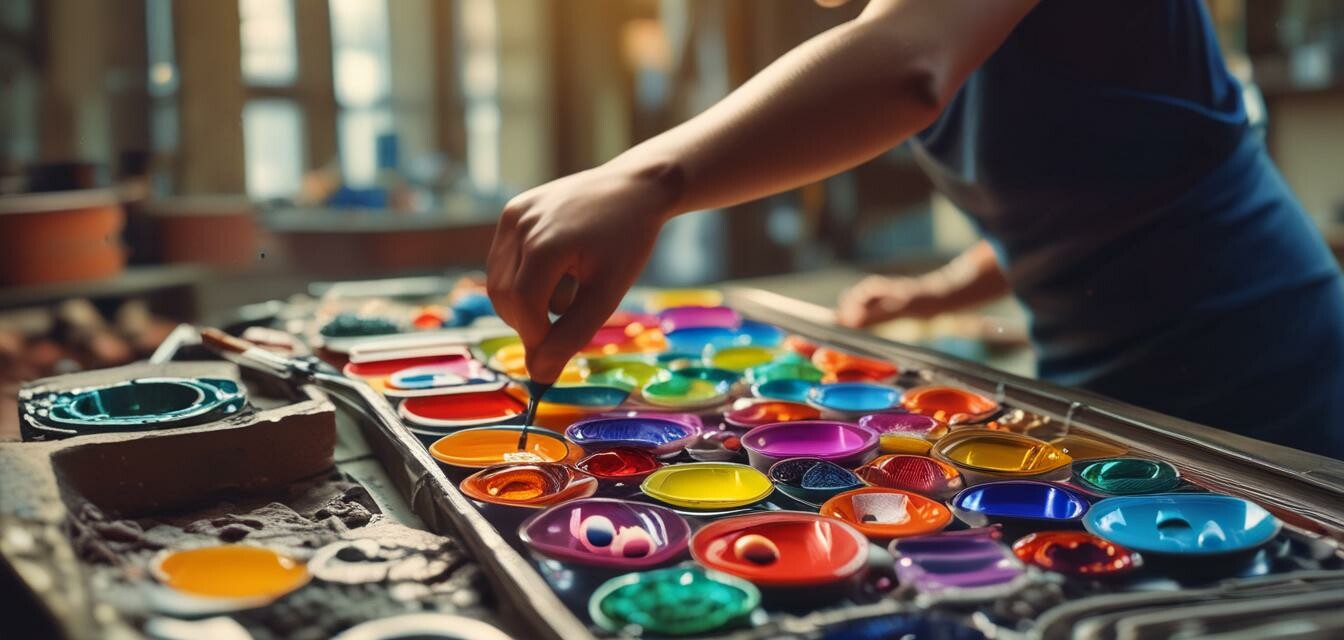
Glass making is an art that thrives on creativity and experimentation. With the right techniques, you can elevate your glass art to new heights. This article will explore advanced firing techniques, useful for both seasoned artists and those looking to expand their skill set. Let's delve into the details!
Understanding kiln operation
The foundation of successful glass firing lies in your understanding of how kiln functions and the various firing techniques available. Let's break down some of the essential aspects:
- **Kiln Type**: Consider the type of kiln you are using, as different kilns can have varied firing capabilities.
- **Temperature Control**: Accurate temperature settings are crucial for various techniques.
- **Firing Cycles**: Adapt your firing cycles for specific glass projects.
Advanced firing techniques
To truly push your creative boundaries, consider the following advanced firing techniques:
1. Glass fusing
Glass fusing is a method where glass pieces are melted together to form a single piece. Here’s how you can experiment with it:
- Layer different colors and textures of glass sheets.
- Incorporate translucent and opaque glasses for varied effects.
- Use compatible glass types to avoid thermal shock.
2. Slumping
Slumping involves heating glass until it softens and conforms to the shape of a mold. Here are tips for slumping:
- Select unique molds that extend your artistic vision.
- Experiment with different glass thicknesses.
- Vary the temperature and hold times to create different effects.
3. Casting
Casting glass involves pouring molten glass into a mold. To improve your casting techniques:
- Use a variety of molds to create unique forms.
- Experiment with molds made from different materials such as plaster or clay.
- Monitor cooling rates carefully to reduce stress and fractures.
Testing and documentation
One of the essential aspects of glass making is recording your techniques and outcomes. This allows for consistent results and the exploration of new ideas.
- *Create a firing log* to note temperatures, hold times, and materials used.
- *Take photographs* of your glass pieces at each stage of the process.
- *Evaluate outcomes* and describe the characteristics of your finished work.
Resources for optimizing kiln performance
Use reliable resources to improve your knowledge about kilns and firing techniques. Check out our related articles:
- Discover the latest deals on glass kilns
- Visit our collection of fusing and slumping supplies
- Explore our extensive molds section
- Find essential kiln accessories and tools
- Browse through our glass sheets and supplies
Conclusion
By implementing these advanced firing techniques, you can enhance your creativity and bring your glass art to new levels. Remember to experiment with different methods and document your findings to build on your skills.
Pros
- Encourages creativity and exploration in glass making.
- Encapsulates various techniques suited for different skill levels.
- Enhances understanding of kiln operation and handling.
Cons
- Requires practice and patience to master.
- Possible material wastage during experiments.
- Can be complex for beginners without foundational knowledge.