Kiln Temperature Calibration: Ensuring Perfect Results
Key Takeaways
- Understand the importance of temperature calibration in glass art.
- Learn about different methods to calibrate your kiln.
- Discover the tools required for accurate calibration.
- Find tips on how to achieve consistent results in your projects.
- Explore additional resources for improving your glass-making skills.
Calibrating your kiln temperature is essential for any glass artist serious about achieving consistent and successful results. In this guide, we will walk you through the steps for achieving accurate kiln temperature calibration, discuss various methods, and offer helpful tips. Whether you are a beginner or an experienced glass artist, understanding how to calibrate your kiln can make all the difference in your glass projects. Let's dive in!
Why is kiln calibration important?
Kiln calibration is crucial for several reasons:
- Ensures consistent firing results: Accurate temperatures help produce uniform glass pieces.
- Prevents damage: Correct temperatures reduce the risk of glass breakage and defects.
- Enhances creativity: Knowing your kiln's capabilities allows you to experiment more confidently.
Steps for kiln temperature calibration
1. Gather your materials
Before starting, assemble the following tools:
- Digital pyrometer or thermocouple
- Calibration test pieces (small glass squares)
- Notebook and pen for recording data
2. Create a test schedule
Plan several firing cycles to gather enough data. Generally, you should:
- Choose a variety of temperatures to test.
- Include different firing schedules, such as full fuse, tack fuse, and slump.
3. Perform the calibration test
Follow these steps for effective calibration:
- Insert the thermocouple inside the kiln, near the center for accurate readings.
- Fire the kiln according to your test schedule.
- Record the actual temperature achieved compared to the set temperature.
4. Analyze the data
Review your data to identify discrepancies:
- Are there consistent gaps between set and actual temperatures?
- Do certain firing schedules show larger variations?
This analysis will help you understand what adjustments, if any, are necessary for your kiln.
5. Make adjustments
Depending on your findings, you may need to adjust the thermocouple positioning or make settings changes in your kiln’s controller. This allows for better accuracy and consistency in future firings.
Common methods for kiln temperature calibration
Here are the popular methods to calibrate your kiln:
| Method | Description | Pros | Cons |
|---|---|---|---|
| Digital pyrometer | Utilizes a thermocouple to measure temperature inside the kiln. | Highly accurate readings. | Can be costly; requires initial setup. |
| Temperature cones | Visually observes when cones bend at specific temperatures. | No additional setup required; affordable. | Less precise; subjective interpretation of results. |
| Data logging thermometer | Records temperature over time for extensive data analysis. | Great for identifying temperature profiles. | May require technical know-how; more expensive. |
Tips for achieving consistent results
Here are some practical tips to help you get consistent results from your kilns:
Beginner's Tips
- Keep a log of your kiln firings and settings.
- Experiment with different firing schedules to see what works best.
- Don't hesitate to reach out to fellow artists for advice.
Additional resources for glass artists
For more information on kilns and glass making, check out our other blogs and product pages:
- Explore our blog on glass kilns
- Find fusing and slumping supplies
- Check out glass art project kits
- Learn about glass casting supplies
- Discover our selection of glass molds
Pros
- Improves glass quality and consistency.
- Encourages safer glass-making practices.
- Enhances creativity through understanding kiln capabilities.
Cons
- Calibration may take time and effort.
- Requires investment in specific tools.
- Learning curve for beginners.
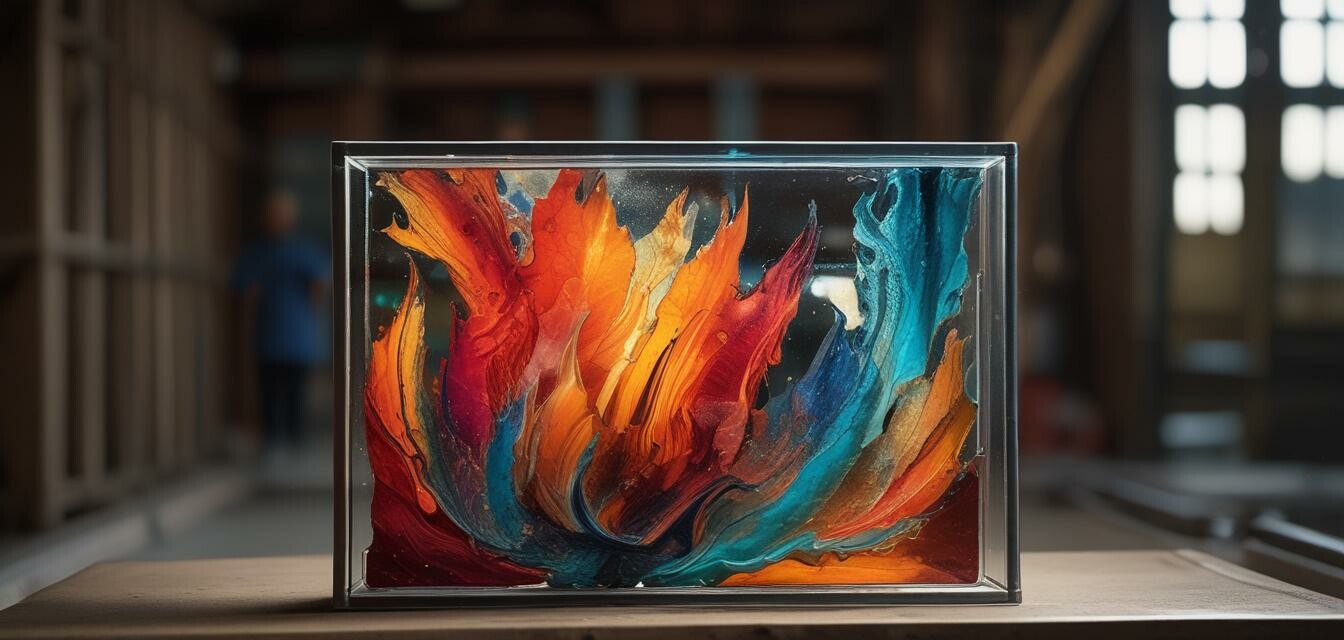
By taking the time to calibrate your kiln temperatures, you can significantly improve your outcomes as a glass artist. This precise art allows you to express your creativity and craftsmanship fully. Good luck with your calibration efforts, and happy glass making!