How to Optimize Your Kiln for Different Glass Types
Key Takeaways
- Understanding the glass type is crucial for proper kiln settings.
- Adjusting temperature, time, and cooling rates can improve your glass outcomes.
- Different glass types require specific firing schedules for optimal results.
- Regular monitoring and adjustments can enhance the lifespan of your kiln.
- Utilizing appropriate accessories can provide better performance and efficiency.
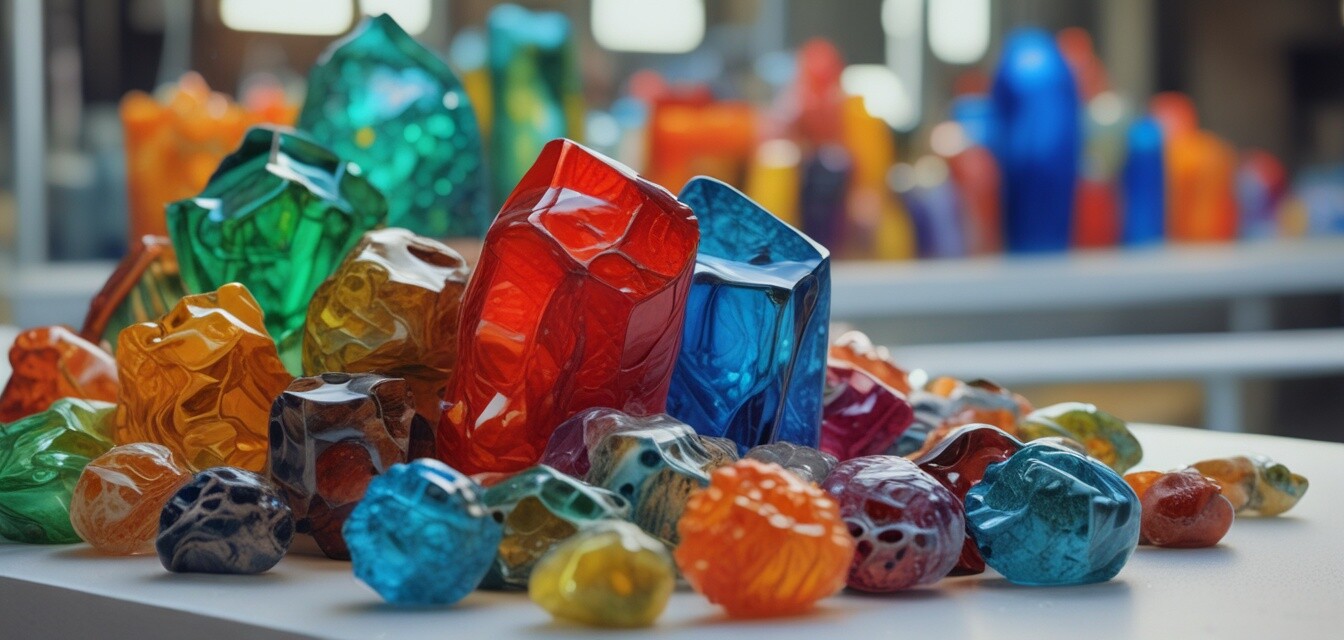
Optimizing your kiln for various types of glass is vital for achieving the best results in your glass-making projects. Each type of glass—be it Fused, Slumped, or Cast Glass—requires unique thermal management processes. In this guide, we will cover essential adjustments you can make to ensure your kiln operates efficiently, providing you with fantastic pieces every time.
Understanding Glass Types
There are several glass types commonly used in kilns, and knowing the characteristics of each will help you manage your kiln settings effectively. Below is a brief overview:
| Glass Type | Characteristics | Common Uses |
|---|---|---|
| Fusing Glass | Transparent or opaque; comes in various colors | Art pieces, jewelry, tiles |
| Slumping Glass | Typically thicker, often used in sheets | Bowls, plates, and functional ware |
| Cast Glass | Heavy; requires specific mold designs | Sculptures, artistic pieces |
Adjusting Your Kiln Settings
Every glass type requires different firing schedules, including temperature ranges and hold times. Below is a guide on how to adjust your kiln settings for optimal results:
1. Fusing Glass
- Temperature: Generally, fusing requires a peak temperature of around 1400°F to 1500°F.
- Hold Time: A hold time of 10-30 minutes is typically sufficient to ensure the glass melts and fuses properly.
- Cooling Rate: Use a slow cooling rate (possibly around 100°F per hour) to avoid thermal shock.
2. Slumping Glass
- Temperature: Slumping often peaks around 1200°F to 1300°F.
- Hold Time: 15-30 minutes depending on the thickness and size of the glass.
- Cooling Rate: Medium cooling speed (around 200°F per hour) is recommended for slumping.
3. Cast Glass
- Temperature: Requires higher temperatures, peaking around 1800°F.
- Hold Time: Hold for 1-2 hours depending on the depth of the mold.
- Cooling Rate: Very slow cooling (50°F per hour) is critical to prevent cracking.
Importance of Accessories
Using the right kiln accessories ensures better performance and helps you achieve the desired results. Below are some essential accessories:
- Kiln Shelves: Support your glass and allow for even heat distribution.
- Firing Paper: Helps prevent glass from sticking to kiln shelves.
- Ventilation: Improve air circulation with proper ventilation systems.
Regular Maintenance Tips
To keep your kiln performing optimally, regular maintenance is essential. Consider these practices:
Beginner Tips
- Regularly check for cracks or signs of wear within your kiln.
- Clean the interior and exterior of your kiln to prevent contaminants.
- Ensure proper calibration of your temperature controls.
- Keep an eye on the glass thickness to adjust firing schedules accordingly.
Conclusion
Optimizing your kiln for different glass types takes practice and precision. By understanding the specifications and requirements for your glass projects, such as those in our glass kilns category, you can enhance the outcomes of your creations. Happy glass making!