How to Optimize Your Studio Space Around Your Kiln
Key Takeaways
- Design your studio layout to prioritize efficiency and safety.
- Utilize vertical space with shelves and hooks to store supplies.
- Organize your tools and materials for easy access.
- Consider ventilation and temperature control near your kiln.
- Maintain a clutter-free environment to enhance creativity.
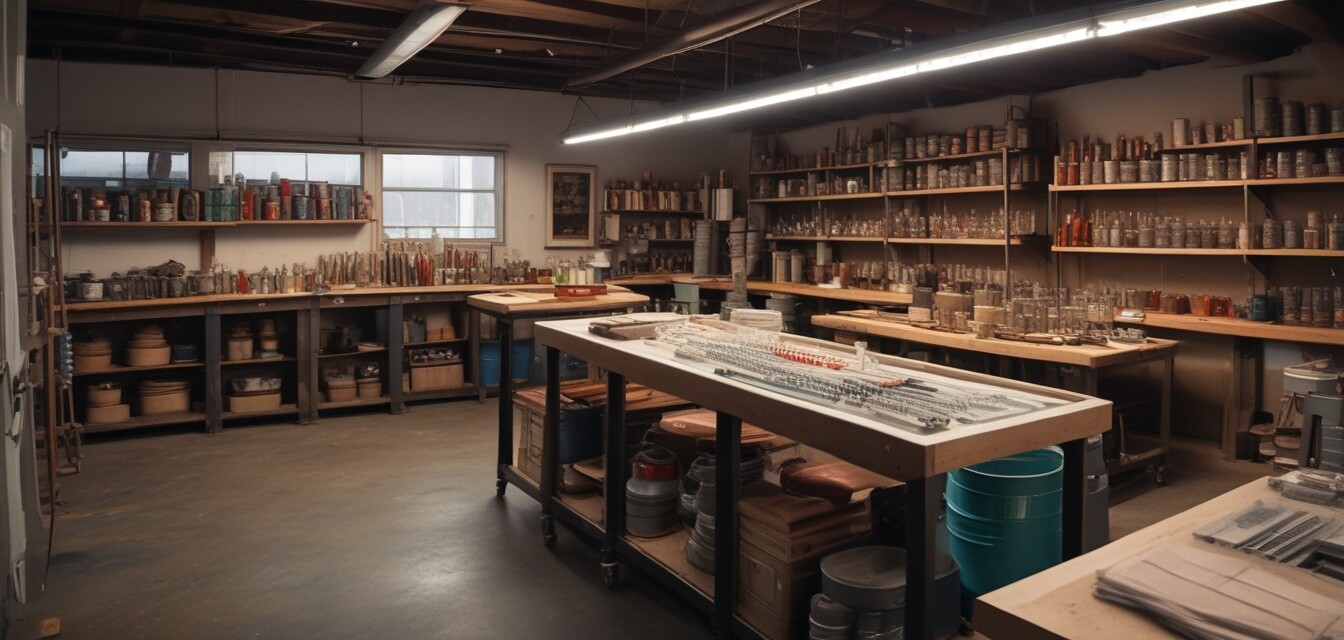
Creating glass art is a rewarding endeavor, and having an optimized studio space around your kiln can significantly enhance your workflow. In this guide, we will delve into practical tips and strategies to help you organize your studio effectively, ensuring maximum productivity and safety while working with glass. Whether you’re a novice artist or an experienced glassmaker, these tips can help create an organized and inspiring environment for your creative projects.
1. Assess Your Space
The first step in optimizing your studio is to assess the available space. Understanding the dimensions and layout of your studio will aid in creating a functional workspace. Consider the following:
- Measure the size of your studio and the area around your kiln.
- Identify electrical outlets and ventilation options.
- Determine traffic flow — where you will be moving and working the most.
2. Create a Functional Layout
Your studio layout should prioritize efficiency and safety. Here are some key elements to consider:
| Item | Recommendation |
|---|---|
| Kiln Position | Place the kiln away from flammable materials and allow enough space for safe operation. |
| Work Zones | Designate specific areas for different tasks like cutting, assembling, and firing. |
| Storage | Use shelves or cabinets to store glass sheets and tools, keeping them organized and within reach. |
3. Utilize Vertical Space
Maximize the efficiency of your studio by utilizing vertical space. Here are some ways to achieve this:
- Install shelves high on the walls for less frequently used supplies.
- Use pegboards to hang tools and materials, freeing up valuable desk space.
- Consider tall cabinets for storing bulky items like molds and large glass sheets.
4. Organize Your Tools and Materials
Keeping your tools and materials well-organized is key to maintaining productivity. Follow these organizing tips:
- Sort supplies by type (e.g., glass sheets, frit, tools).
- Label boxes and shelves for easy identification.
- Keep frequently used items accessible on your workbench.
5. Ensure Proper Ventilation
Maintaining good air quality in your studio is essential, especially when operating a kiln. Consider these ventilation tips:
- Add an exhaust fan to remove fumes generated during firing.
- Open windows when possible to allow fresh air circulation.
- Monitor humidity and temperature to maintain optimal working conditions.
6. Maintain a Clutter-Free Environment
A cluttered workspace can hinder creativity and focus. Here are some practices to keep your studio tidy:
- Regularly clean your workspace to avoid the buildup of dust and debris.
- Avoid overstocking materials; only keep what you need.
- Implement daily cleanup routines at the end of your work sessions.
Pros
- Increased efficiency through organized workflows.
- Enhanced safety by minimizing clutter around the kiln.
- Improved creativity in a clean, well-maintained workspace.
Cons
- Initial time investment to reorganize space.
- Cost associated with purchasing storage solutions.
- May require periodic adjustments as your inventory changes.
7. Consider Studio Size and Layout Flexibility
If you have a smaller studio, consider multi-functional furniture. For example:
| Furniture | Function |
|---|---|
| Foldable table | Can be used as additional workspace when needed. |
| Rolling cart | Provides extra storage and can be moved around as needed. |
| Stackable bins | Easy to transport and store when not in use. |
8. Regularly Review and Adjust
As your skills and inventory evolve, so should your studio layout. Schedule regular reviews to identify areas that may need improvement.
Consider asking fellow glass artists for tips or sharing your own experiences in community forums. Explore other available resources by clicking on the following links:
- Learn more about glass kilns.
- Check out our selection of glass kilns.
- Explore glass molds for your projects.
- Find essential glass sheet supplies.
- Discover tools and accessories for your kiln.
Conclusion
Optimizing your studio space around your kiln lays the foundation for a successful glassmaking experience. By implementing these strategies, you’ll create an environment that enhances both productivity and creativity. Embrace the organization, maintain safety, and enjoy the wonderful journey of glass art!