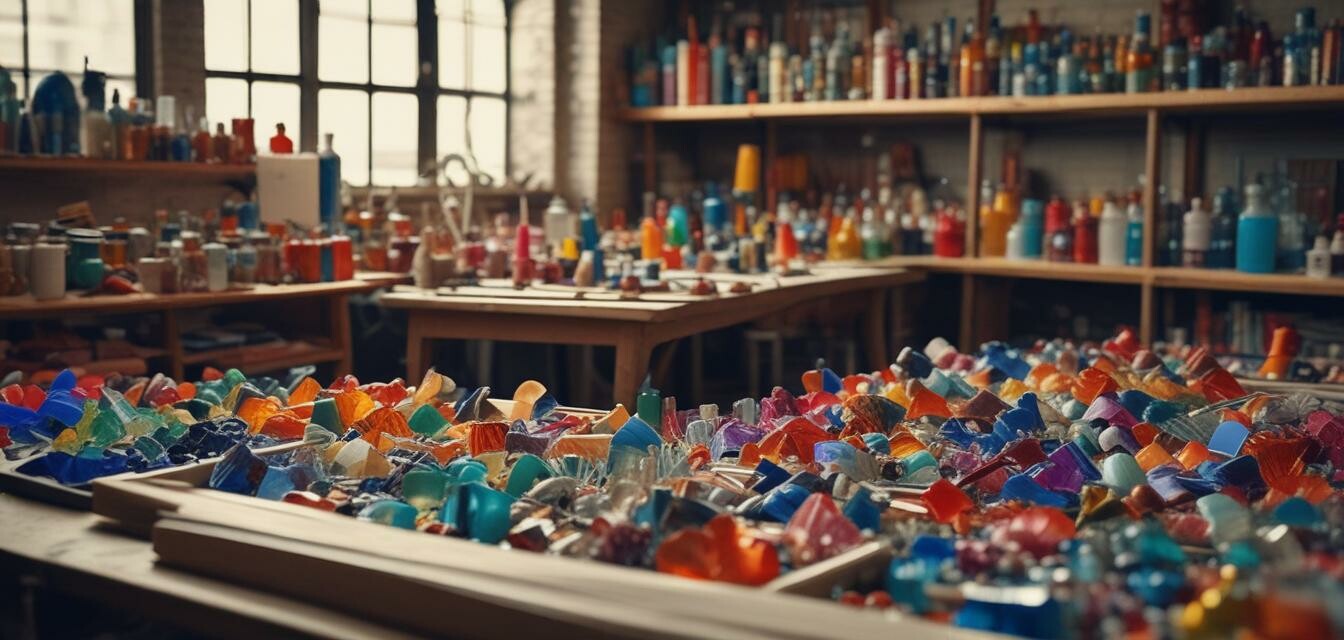
Understanding the kiln firing process
Key Takeaways
- The kiln firing process consists of several important stages, including loading, heating, soaking, and cooling.
- Understanding each stage helps to optimize your firing process for better results.
- Temperature control is vital for successful glass fusing and casting.
- Using the right kiln and equipment can significantly impact your glass-making projects.
Glass making is a beautiful and creative process that involves various techniques and tools, with kiln firing being a crucial step. In this article, we will explore the kiln firing process, outlining the different stages involved and how to optimize each phase for successful results in glass fusing and casting.
The stages of the kiln firing process
| Stage | Description | Optimization Tips |
|---|---|---|
| Loading | The process of placing glass pieces and molds inside the kiln. | Ensure even spacing to avoid glass sticking together. |
| Heating | Gradually increasing the temperature to allow for melting or softening. | Follow a controlled rate of increase to prevent thermal shock. |
| Soaking | Holding the temperature to allow glass to fuse or cast properly. | Time the soak to match the thickness and type of glass used. |
| Cooling | Gradually lowering the kiln temperature to room temperature. | Use a slow cooling rate to minimize stress and prevent cracking. |
Understanding each stage of the firing process
1. Loading
Loading the kiln is where it all begins. Proper loading techniques can have a significant impact on your results. Here are a few quick guidelines:
- Use kiln posts to create space between your glass pieces.
- Arrange glass so that larger pieces don't block smaller ones.
- Always leave some room for air circulation to allow for even heating.
2. Heating
During the heating stage, the temperature is increased gradually. Rapid temperature changes can lead to thermal shock, causing your glass to crack. Here’s how you can optimize this phase:
- Limit the temperature rise to approximately 100°F (38°C) per hour.
- Use an accurate pyrometer for precise temperature monitoring.
3. Soaking
The soaking stage allows the glass time to reach optimal melting or fusing conditions. Here are tips to ensure effective soaking:
- Monitor your soak time based on the glass type.
- Keep an eye on the glass to avoid over-fusing.
4. Cooling
Cooling is perhaps the most critical stage as it impacts the final properties of your piece. To optimize it:
- Utilize a “cooling ramp” to lower the temperature effectively.
- Always maintain a slow cooling process to prevent stress fractures.
Benefits of understanding the kiln firing process
Knowing the intricacies of the kiln firing process allows glass artists to achieve better results in their creations. This understanding embodies:
- Higher quality finished products.
- Reduced risk of breakage or defects.
- More confidence in experimenting with different glass techniques.
Things to consider for optimal kiln firing
While every artist's journey is unique, there are several universal factors to consider for optimal kiln firing:
- Choosing the right kiln can enhance your glass-making experience.
- Regularly check and calibrate your kiln to ensure accurate temperature readings.
- Investing in quality glass materials and supplies will yield superior results.
- Always keep safety equipment and protocols in mind to protect yourself during firing.
Pros
- Allows for artistic freedom and creativity.
- Results can be both functional and decorative.
- Multiple techniques can be explored, such as fusing and casting.
Cons
- Can be time-consuming due to multiple stages.
- Requires a significant initial investment in equipment.
- Difficulty in mastering techniques may require longer practice.
Conclusion
Understanding the kiln firing process is essential for any glass artist wanting to excel in their craft. By recognizing each stage and implementing optimization strategies, you can dramatically improve your glass fusing and casting results. Explore our fusing and slumping supplies for more options to enhance your creative projects.
Keep experimenting, stay inspired, and happy glass making!

