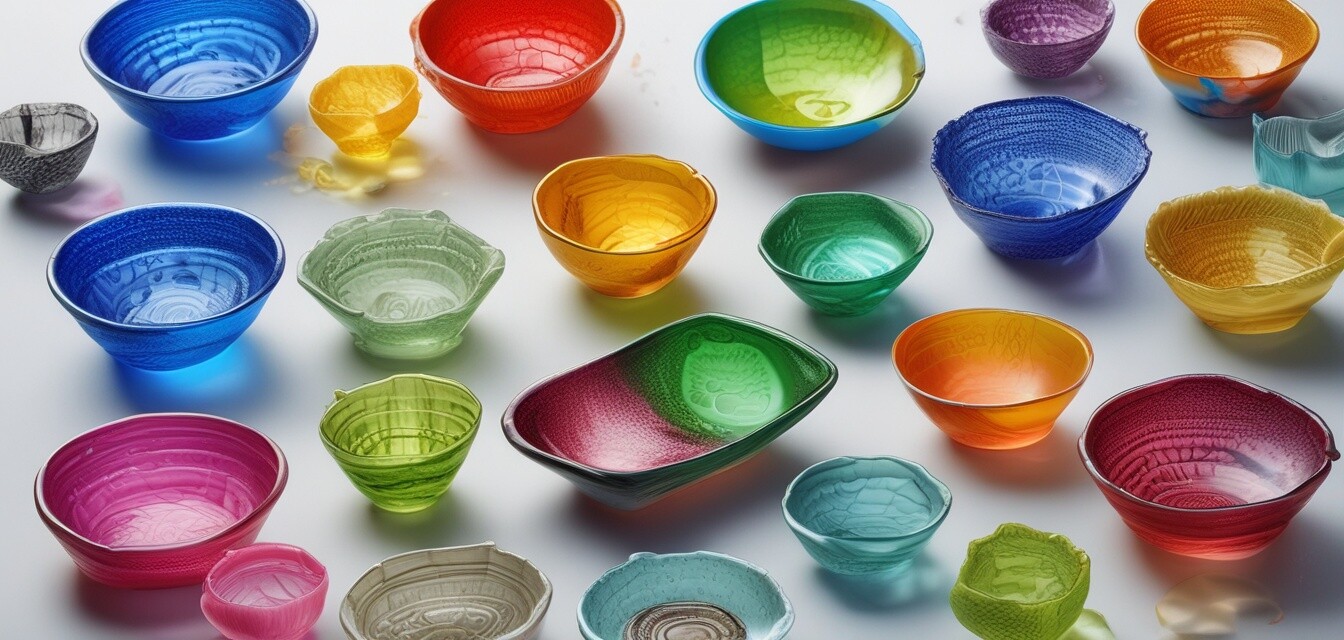
Customizing Molds: A Step-by-Step Guide
Key Takeaways
- Understanding various types of molds is essential for customization.
- Tools and materials are key to successfully customizing your molds.
- Personalization techniques can enhance creativity and uniqueness in glass projects.
- Experimenting with different approaches will lead to improved artistic skills.
Creating unique glass pieces through the customization of molds is an exciting way to express your creativity. In this comprehensive guide, we will explore how to customize molds for your glass projects. We will cover the materials, tools, and techniques needed to personalize your creations. Whether you are a beginner or an experienced glass artist, this guide will help you take your glass-making skills to the next level.
Understanding Molds
Molds play a critical role in shaping glass into desired forms. There are several types of molds available, each suited for specific techniques and projects. Here are some common types:
| Type of Mold | Usage | Example Projects |
|---|---|---|
| Bowl Molds | Creating bowls in various sizes | Decorative serving bowls, salad bowls |
| Plate Molds | Shaping flat glass into plates | Dining plates, artistic displays |
| Jewelry Molds | Forming glass into wearable art | Pendants, earrings, bracelets |
| Cast Molds | Detailed shapes and designs | Figurines, complex art pieces |
Materials Needed
For successful mold customization, you'll need a variety of materials. Here’s a list of essential materials to gather:
- Silicone rubber or RTV silicone for creating custom molds
- Clay or wax for original model making
- Glass sheets or frit for your glass projects
- Release agents to help prevent sticking
- Tools for cutting and shaping the materials
Tools Needed for Customizing Molds
Besides the materials, the right tools are essential to facilitate the mold customization process. Here's a list of tools you'll need:
- Mixing containers for silicone
- Measuring cups
- Stirring sticks
- Utility knife or sculpting tools
- Heat gun for smoothing edges
- Protective gloves and safety goggles
Step-by-Step Mold Customization Process
Now that you have the materials and tools ready, follow these steps to customize your molds:
- Select your model: Choose an item to replicate with your custom mold. This could be an original piece you created or another item that inspires you.
- Prepare your model: Clean the model thoroughly and apply a release agent to ensure silicone does not stick.
- Mix the silicone: Prepare your silicone according to the manufacturer's instructions. Ensure it’s mixed well with no bubbles.
- Pour the silicone: Carefully pour the mixed silicone over the model. Allow it to spread naturally and ensure it covers all details.
- Let it cure: Allow the silicone to cure per the recommended time. It’s crucial to let it set fully before removing the mold.
- Remove the mold: Gently peel the silicone away from the original model. You now have a custom mold ready for use!
- Test your mold: Try out your new mold with glass or frit to see how well it shapes your creative project.
Personalization Techniques
To truly make your molds unique, consider these personalization techniques:
- Texturing: Add texture to your model before making a mold to create interesting surface finishes in your glass pieces.
- Layering: Use different colors of glass frit or pieces to layer within your mold for a more dynamic appearance.
- Embedding items: Place small objects, like beads or designs, within the mold to add decorative elements to your final piece.
Cleaning and Maintaining Your Molds
Proper care of your molds will prolong their life and usability. Here’s how you can maintain them:
- Clean the mold gently after each use with warm, soapy water.
- Avoid using abrasive materials that could damage the mold surface.
- Store molds in a cool, dry place away from direct sunlight to prevent warping.
Conclusion
Customizing molds opens up a world of possibilities for glass artists seeking to create unique pieces. With the right materials, tools, and techniques, you can personalize your creations and bring your artistic visions to life. Don't hesitate to experiment and find the styles that resonate with you—your creativity has no limits!
Pros
- Enhances creativity by allowing personal expression.
- Custom molds can lead to unique, one-of-a-kind pieces.
- Improves technical skills through hands-on practice.
Cons
- Initial setup can be time-consuming.
- Requires investment in materials and tools.
- Can be challenging for absolute beginners without guidance.
For more information on glass molds and other related topics, check out our Glass Molds blog, or explore other sections such as Glass Kilns, Glass Sheets and Supplies, and Fusing and Slumping Supplies.

