Designing Custom Molds for Unique Glass Projects
Key Takeaways
- Understanding the fundamentals of mold design enhances creativity.
- Choosing the right materials and tools is essential for creating durable molds.
- Experimenting with different techniques can lead to unique designs.
- Custom molds allow for personal expression and tailored projects.
- Properly maintaining and storing molds ensures longevity.
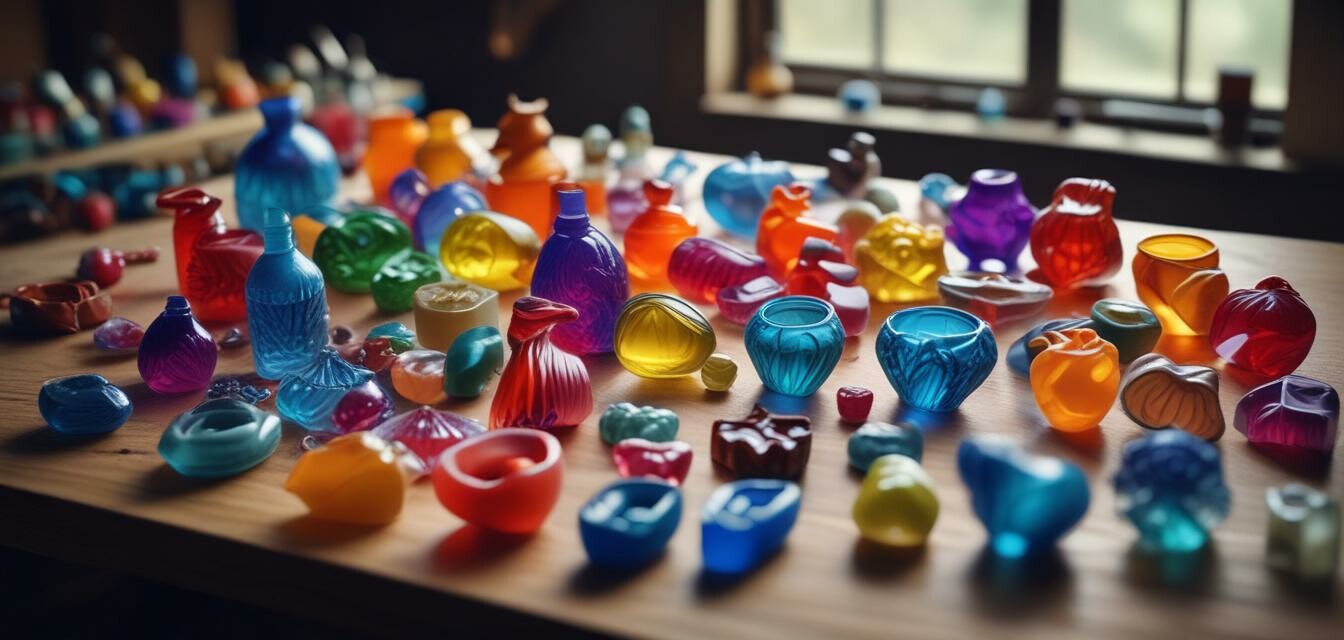
Creating unique glass art through designing custom molds is an exciting endeavor that allows artists to express their individuality and creativity. Whether you are working on bowl projects, plate designs, jewelry creations, or intricate castings, having the right mold can make all the difference in your finished piece.
Why Custom Molds Matter
Custom molds provide a way to bring specific ideas to life in glass art. While pre-made molds are widely available, they might limit your creativity. Here are a few reasons why you should consider making your own molds:
- Personalization: Tailor the design to fit your unique style and preferences.
- Versatility: Create molds that accommodate various projects and glass techniques.
- Cost-effectiveness: Invest in long-lasting molds rather than purchasing new ones constantly.
Materials Needed for Mold Design
Understanding the materials available is essential in designing custom molds. Below is a table of common materials used for this purpose:
| Material | Description | Use Case |
|---|---|---|
| Silicone Rubber | Flexible and durable, allowing for easy removal of glass pieces. | Perfect for complex shapes and jewelry designs. |
| Plaster | Classical mold material, easy to shape and works well with glass. | Ideal for larger cast pieces and decorative elements. |
| Clay | Malleable and easy to work with for creating simple shapes. | Good for quick and temporary molds. |
| Metal | Sturdy and heat-resistant, suitable for repetitive casting. | Best for professional artists needing durable molds. |
Steps to Create Custom Molds
Here’s a step-by-step guide to designing your own molds:
- Design Your Concept: Sketch your idea to visualize it.
- Choose Your Material: Select a mold material based on the complexity and durability needed.
- Create a Model: Use clay or another material to sculpt your initial design.
- Make the Mold: Use your chosen material to create a mold around the model.
- Cure and Test: Allow the mold to cure properly and then test it with glass.
Techniques for Enhancing Mold Designs
To further enhance your mold designs, consider the following techniques:
- Layering: Combine different colors or consistencies for added depth.
- Texturing: Create texture on the surface of the mold for unique glass finishes.
- Using Inserts: Add inserts to your mold to create complex designs and shapes.
Maintaining Your Molds
Proper maintenance of your molds is essential for longevity. Here are some tips:
- Clean After Use: Remove all glass residue after each project.
- Store Properly: Keep molds in a cool, dry place to prevent damage.
- Inspect Regularly: Check for wear and tear, and repair as needed.
Beginner's Tips
Tips for Beginners
- Start with simple designs to build your confidence.
- Experiment with different materials to find what works best for you.
- Join a community of glass artists for shared tips and inspiration.
- Invest in good quality tools for better mold making.
- Document your process to track your progress and improve techniques.
Conclusion
Designing custom molds for glass projects unlocks a new level of creativity and personal expression. By understanding the materials, process, and maintenance of molds, artists can bring their unique visions to life. If you're interested in more about glass molds, check out our glass molds category for deals on a variety of options.
Pros
- Allows for full creative control over designs.
- Fosters individual artistic expression.
- Can be cost-effective in the long run.
Cons
- Initial learning curve for beginners.
- Requires some investment in materials and tools.
- Time-consuming process compared to purchasing pre-made molds.