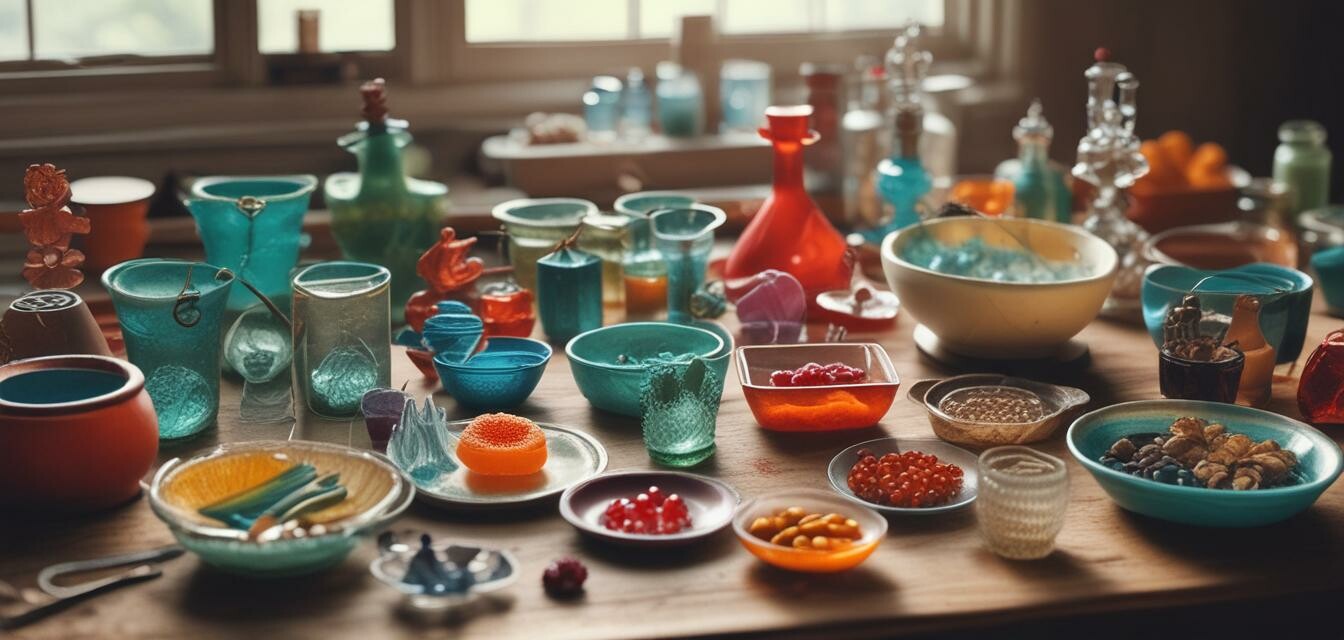
Making Custom Glass Shapes with Molds
- Understanding different types of molds is crucial for customization.
- Selecting the right glass materials can significantly affect your outcome.
- Proper techniques ensure consistent results and reduce waste.
- Experimenting with designs can lead to unique creations.
- Daily deals on essential supplies can enhance your crafting experience.
Creating custom glass shapes with molds is an exciting aspect of glass making that allows artists to explore their creativity and bring unique designs to life. Whether you’re a beginner or an experienced artist, understanding the techniques and materials involved can help you achieve beautiful results in your glass work. In this article, we will cover the essential elements of using molds in glass making, along with tips and tricks for customizing your designs.
Types of glass molds
There are various types of molds available for glass shaping, each designed for specific projects. Understanding the purpose of each mold can guide you in your glass creation process. Here’s a breakdown of some common types:
| Mold Type | Purpose | Uses |
|---|---|---|
| Bowl molds | Create deep, rounded shapes | Salads, serving dishes, decorative pieces |
| Plate molds | Form shallow, wide shapes | Serving plates, decorative displays |
| Jewelry molds | Create intricate designs | Pendants, earrings, brooches |
| Casting molds | Design unique shapes with details | Sculptures, art pieces |
Choosing the right materials
Choosing the right type of glass and additional materials is critical for ensuring success in your molded projects. Glass suitable for fusing or slumping varies in thickness, color, and texture. Here’s a quick guide:
- Fusing glass: Ideal for joining pieces together. Look for compatible glass types.
- Colored glass sheets: Great for adding vibrancy to your designs.
- Frit and rods: Used for decorative elements and detailing your creations.
- Glass casting supplies: Important for creating unique sculptural pieces.
Techniques for customizing designs
Now that you understand the various molds and materials, let’s explore some effective techniques for customizing your glass designs.
Layering
Layering different colors or types of glass can add depth and dimension to your pieces. This technique involves stacking the glass to achieve unique combinations and patterns during the melting process.
Use of texture
Incorporating texture into your designs can create striking visual effects. This can be achieved by embedding items into the glass or by using textured molds.
Sample projects
Consider trying these fun projects that allow for customization:
- Layered color bowls
- Textured serving plates
- Intricate jewelry pieces
- Decorative glass sculptures
Tips for consistent results
Beginners tips for glass molding
- Start with simpler designs to build your skills.
- Follow the manufacturer's guidelines on kiln settings and temperatures.
- Ensure your molds are clean and free of debris before use.
- Test small batches to perfect your techniques.
- Experiment in a dedicated workspace where you can control the environment.
Common mistakes to avoid
Many beginners may encounter issues in their glass working journey. Here’s a list of common mistakes and how to avoid them:
- Not preheating the kiln properly, leading to uneven results.
- Overloading molds, which can result in breakage.
- Using incompatible glass types that do not fuse well.
- Skipping safety gear during glass handling and processing.
Pros
- Allows artistic expression through custom shapes.
- Wide range of materials and techniques to explore.
- Possibility to create commercial products from unique designs.
Cons
- Requires initial investment in tools and materials.
- Can be time-consuming to perfect techniques.
- Safety precautions are crucial, as working with glass can be hazardous.
Conclusion
Learning how to make custom glass shapes with molds is a rewarding journey. With the right techniques, materials, and a bit of practice, you can create stunning glass pieces that reflect your unique style. Don’t forget to check out our [Glass Molds products](https://yourwebsite.com/products/glass-molds) for daily deals, and explore other categories like [Fusing and Slumping Supplies](https://yourwebsite.com/products/fusing-and-slumping-supplies) for more materials. Happy crafting!

