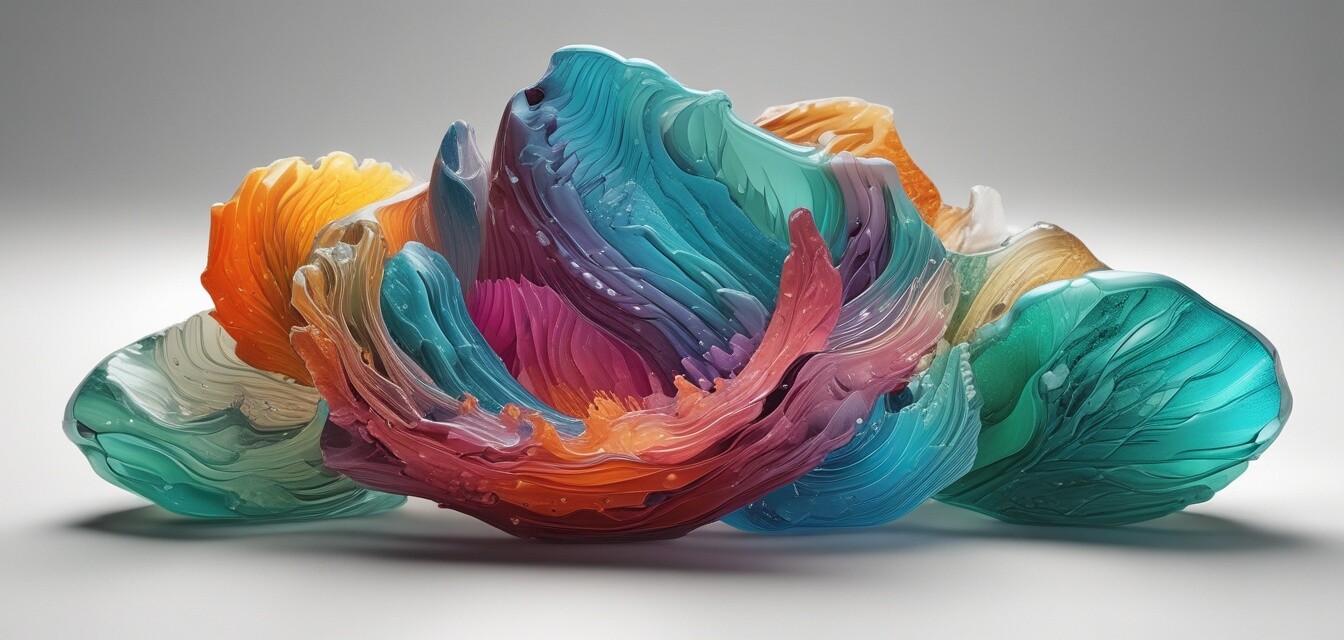
Techniques for Creating Textured Glass using Molds
Key Takeaways
- Textured glass enhances the visual and tactile appeal of your artwork.
- Different mold materials can result in varying surface finishes.
- Proper preparation and techniques are essential for successful glass molding.
- Experimentation can lead to unique and personal design outcomes.
Creating textured glass pieces can significantly enhance the visual appeal and tactile components of your artwork. By using well-designed molds, you can experiment with various textures and patterns, leading to beautiful results. In this article, we’ll explore several techniques for creating textured glass using molds, focusing on steps, tips, and considerations to ensure your success in this exciting craft.
Understanding Glass Molds
Before diving into the techniques, it’s important to understand what glass molds are. Molds are tools that define the shape and texture of the glass during the heating process. They can be made from various materials, including ceramic, metal, and silicone, and each type offers unique properties and finishes.
Types of Molds
| Type of Mold | Material | Typical Use |
|---|---|---|
| Ceramic Molds | Clay-based | Creating intricate shapes and textures |
| Metal Molds | Steel or aluminum | Durable and can withstand high temperatures |
| Silicone Molds | Flexible and heat-resistant | Ideal for beginners and creating detailed textures |
Techniques for Creating Textured Glass
1. Preparing Your Mold
Preparation is key. Start by cleaning your mold thoroughly to remove any dust or leftover materials from previous projects. Depending on the mold type, you may also apply a release agent to ensure the glass does not stick.
2. Choosing the Right Glass
Select a compatible type of glass for your project. Fusing glass works well for many textures, but testing is crucial. Different thicknesses and colors can impact the final outcome.
3. Layering Techniques
To create depth, experiment with layering different types of glass within the same mold. You can layer colored glass, clear glass, and even frit to give more dimension to your textured piece.
4. Adding Texture
When using molds specifically designed for textures, the glass will naturally take on the patterns of the mold. However, you can also manually press textures into the glass using tools or household items before firing.
5. Firing and Finishing
Once your glass is arranged in the mold, it's time to fire it in your kiln. Be sure to use the appropriate firing schedule based on the thickness and type of glass. After firing, allow the glass to cool completely before removing it from the mold.
Exploring Mold Designs
There are countless designs available for textured molds. Experimentation can yield unique and personal pieces that reflect your artistic vision. Here are a few mold designs to consider:
- Floral Patterns: Perfect for creating nature-inspired pieces.
- Geometric Shapes: Ideal for modern designs.
- Abstract Textures: Allows for freedom in creativity.
Additional Tips for Success
Beginner's Tips for Using Molds
- Start with simple designs to build your skills.
- Keep a glassworking journal to track your projects and techniques.
- Join online glassworking forums for support and advice.
Safety Precautions
Safety is paramount when working with hot glass and kilns. Always wear appropriate safety gear, including glasses and gloves. Ensure your workspace is well-ventilated and follow all manufacturer instructions for your glass and molds.
Conclusion
Creating textured glass using molds offers endless possibilities in your glass art journey. Through preparation, experimentation, and a bit of practice, you can master the techniques that lead to stunning creations. Don’t hesitate to explore various mold types and glass products, and consider checking out our glass molds section for a variety of options to ignite your creativity.
Take the Next Step
Ready to dive deeper into glass molding? Explore our full range of fusing and slumping supplies, or get started with one of our glass art project kits. With the right tools and knowledge, you can transform your crafting experience and create beautiful, textured glass pieces.
Pros
- Wide variety of molds available for creative exploration.
- Ability to create unique textures that enhance artwork.
- Innovative techniques can lead to new artistic expressions.
Cons
- Initial investment in molds and tools can be high.
- Firing equipment requires space and attention.
- Learning curve associated with mastering techniques.

