Preparing Your Glass for Fusing: Essential Steps
Key Takeaways
- Choosing the right glass type is crucial for fusing.
- Proper cutting techniques ensure clean breaks for better seams.
- Cleaning glass sheets thoroughly prepares them for fusing.
- Safety gear is essential when working with glass materials.
Fusing glass is a captivating art form that allows you to create stunning pieces of art or functional items. But before you can start creating, it's essential to prepare your glass properly. In this article, we will go through essential steps for preparing your glass sheets for fusing, including cutting techniques, cleaning methods, and safety considerations.
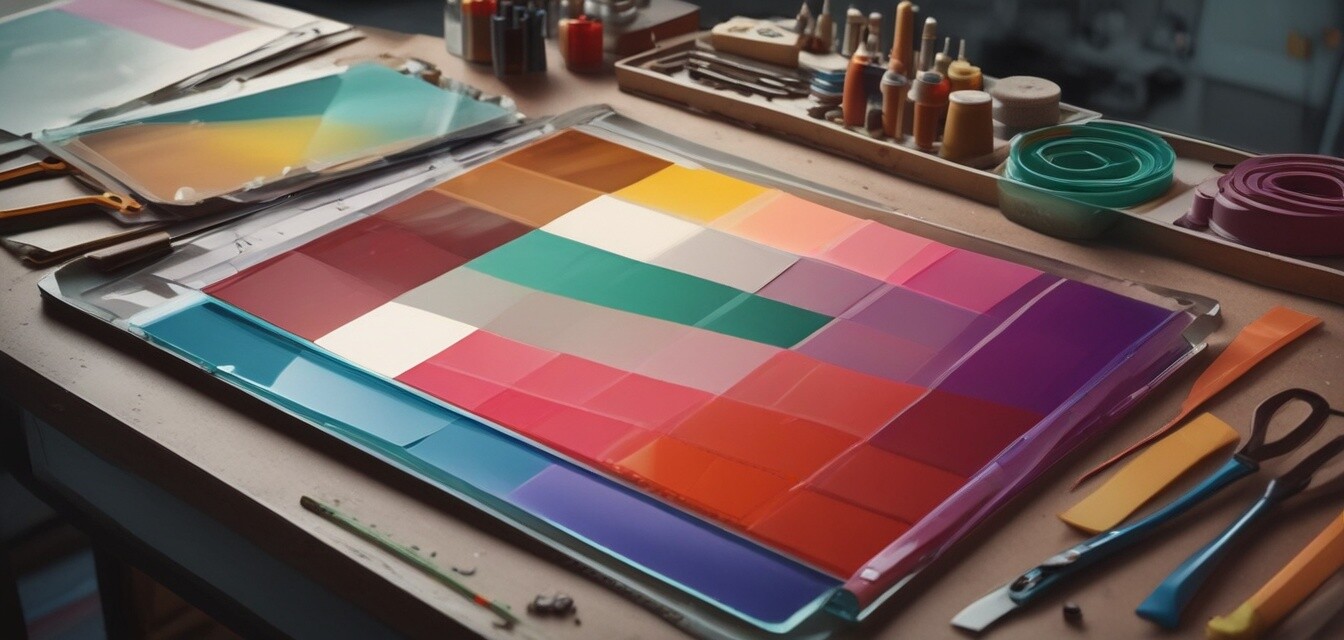
Choosing the Right Glass
The first step in preparing your glass for fusing is selecting the appropriate type of glass. Various types offer different effects and compatibility in fusing:
| Type of Glass | Characteristics | Uses |
|---|---|---|
| Float Glass | Standard glass, clear or tinted | General use, decorative items |
| Fusing Glass | Specifically formulated for fusing | Functional items, art pieces |
| Art Glass | Colored and patterned | Feature pieces, accessories |
Cutting Techniques
Now that you have selected your glass, the next step is cutting it. Proper cutting techniques can make a significant difference in the quality of your fused piece. Here are some tips:
- Use a glass cutter: Ensure you have a quality glass cutter for precise cuts.
- Score the glass: Firmly score the glass with a straight line, applying equal pressure.
- Snap the glass: Place the scored line over the edge of a table and apply pressure to break cleanly.
- Practice: If you’re new to glass cutting, practice on scrap pieces before working on your project.
Tools for Cutting Glass
Having the right tools will make the cutting process easier. Here’s a list of recommended tools:
- Glass cutter
- Cutting mat
- Safety goggles
- Gloves
- Running pliers
Cleaning Your Glass Sheets
Once your glass is cut, it’s vital to clean the surfaces before fusing. Any residue can interfere with the fusing process. Follow these steps:
- Wash with soap and water: Use a non-abrasive cloth to gently scrub the glass surfaces.
- Rinse thoroughly: Make sure to rinse off all soap residues to ensure cleanliness.
- Dry completely: Allow the glass to air dry or use a soft cloth to wipe off moisture.
Consider Cleaning Solutions
For tougher stains, consider using specialized cleaning solutions designed for glass.
Safety Considerations
Working with glass can be dangerous if proper precautions are not taken. Make sure to follow these safety guidelines:
- Always wear safety goggles to protect your eyes from glass shards.
- Wear gloves to prevent cuts while handling glass.
- Use a dust mask when cutting glass to avoid inhalation of fine particles.
- Keep your work area tidy to avoid accidents.
Final Preparation Steps
Before placing your glass in the kiln for fusing, ensure that:
- The pieces fit well without overlapping.
- All edges are smooth and clean for optimal fusion.
- Double-check the kiln settings are appropriate for the type of glass being used.
Conclusion
Preparing your glass for fusing may seem like a daunting task, but following these essential steps will ensure a successful project. From choosing the right glass to mastering your cutting techniques and ensuring a clean and safe workspace, you'll be well on your way to creating stunning glass art.
Tips for Beginners
- Start with small projects to build confidence.
- Experiment with different colors and textures for unique creations.
- Keep learning through tutorials and online resources for improvement.
Pros
- Creative outlet for self-expression.
- Potential to create unique, sellable art pieces.
- Endless possibilities with different glass types and techniques.
Cons
- Initial costs for equipment can be high.
- Glass fusing can require a learning curve.
- Safety precautions must be strictly adhered to.
Explore more about the materials you need to start your glass fusing journey by checking our sections on Fusing and slumping supplies, Glass sheets and supplies, and Kiln accessories and tools. Happy crafting!